The Leaves are Falling - Children Photos


Every day I drive 20 minutes downtown to drop my kids off at their new school.  Every day I see the gorgeous fall leaves turning color, and every day I tell myself I need to stop and take some pictures.

Today was that day :-)

child playing in fall leaves
Seize The Day

I stand before this glorious morn
As the sunrise harkens the day
Shining its promising light on me
“It’s your day”, it seems to say

My mind still fogged with sleep hazed thoughts
Last night’s dreams forgotten now
I dare to question the new day’s promise
Yet know I’ll make it happen somehow

For laid before me, the fare of the day
Everything from bread to gold
My plans, my hopes, opportunities
Don’t let them pass me by, take hold

For each of us, with each new morn
Begins a life renewed some way
Another chance to get it right
Take charge and seize the day

By Dee Garner


And in the end, it's not the years in your life that count.  It's the life in your years.  ~Abraham Lincoln


Treasure Tuesday - Toy Chest

Is there anyone that can pass up on extra storage? Not me.  If I ever see anything, a large basket, an organizer, or anything that can be used as storage I won't pass it up.

Best case scenario is when I can find those kind of pieces from the thrift store for a few bucks or other second hand avenues.  I got this wicker chest for 10.00 (off Craigslist). It was originally from Pier One (he said 150 bucks?) maybe it was because the thing was quite heavy duty.  Of course this couple stored it outside so it had seen better days.  But with a little help from Walmart (cheap spray paint!!!)  I fixed it right up to become my new favorite.

                            You need an up close because this thing was pretty ugly

Now you can see the weathered condition!  But no worries, next I spray painted grey primer on the edges and top. (You could do the entire object but I just skimped.)


I finally realized that Walmart sells spray paint/primer for about half of the local hardware store so I bought a nice brown and green and sprayed away!

I liked the green but thought it might look a little better if I glazed over it with an espresso glaze.  (just mix your standard acrylic paint with a clear glaze - about 1:4 ratio.  A little glaze goes a LONG way.

 Here is the chest with the glaze and the rope detail painted brown.


                  And now for the fun part, here is the before picture:


           And the AFTERS!


The pillow is from the couch but I wanted to show you how nice it looked with the colors.

And the best part is all the downstairs toys have a place to hide.  The entire project cost me around $20.00.  Happy days!

Any one want to share an organizational tip?  Or for those bloggers if you have a specific link to an article on your blog with some good tips on organization please leave a comment (with your URL) and give us a little heads up what it's about.

Thanks for looking!

UBER Healthy Gluten Free Cookies

Gluten Free, Good For you, Go Figure, Guilt Free, cookies!

Coconut Banana Cookie Bites :-)

coconut banana cookie bites gluten free


Coconut Banana Cookie Bites:  
(found in a NuNaturals Stevia recipe book, although I modified it to fit my taste)

1 ripe banana (the riper the better - I usually peel and freeze all my over ripe bananas and pull out when I make banana bread or this recipe)

1 cup almond flour (I use my magic bullet or food processor to finely grind up my almonds into a flour - of course you can always use regular flour but if you are really going for UBER healthy using the almonds is the best.......at least in my opinion!) 

1 cup coconut flakes (I use unsweetened) 

3 tablespoons coconut oil (heated on LOW just to liquify)

1 teaspoon vanilla extract

1/2 teaspoon almond extract

1/2 teaspoon coarse sea salt

2 teaspoons cinnamon (can add ginger, nutmeg, or cloves too)

Stevia to taste

Here is the "fun" part.  I use Stevia in ALL my baking. There are SO many different brands out there that are equivalent to different measurements so I'll tell you that it needs to be stevia equal to 1/4 cup of sugar.  


Combine all ingredients and blend

Form golf ball size cookie balls (leave plain or roll in options below, also I like to press mine down with a fork)

Also you can do this in a pan and just make bars (GREAT breakfast bars, I have them with a cup of coffee in the morning)

Bake at 350 for 15-18 minutes.  (I like to slightly under cook mine so I take it out at 15 min)

Store in refrigerator or airtight container (after you eat a bunch yourself right away!) 
Makes about 18 cookies so you might want to do a double batch.  :-)

I actually like these even better the next day!  I really hope you like them because I think they taste amazing.  (that is, for UBER healthy cookies)

This recipe happens to be gluten free!  You can add oatmeal instead of the coconut if your not a coconut fan.  (or add both coconut and oatmeal!)

Of course you can add chocolate chips or raisins.  


Here is what I like to do to add variety.  (without the sugary chocolate chips invading my healthy cookie, OK I'm really not THAT bad.  I'll add chocolate chips if I want.)

Roll cookie ball in powdered unsweetened cocoa and stevia mix.
Roll in unsweetened coconut (coconut has so much sweetness naturally I don;t add any stevia to this topping)
Roll in a ground nut/cinnamon mixture.  Zap your favorite nut in the food processor and roll the cookie ball right in it.

These pictures are before being put in the oven.
I like pressing them down with a fork. These don't expand or flatten in the oven.

gluten free coconut banana bites

VOILA!!  

If you try these please come back and leave a comment - maybe your favorite variation?  Also feel free to leave us a link to your favorite healthy cookie.  I have two favorite Gluten Free blog one is  Amy @ Simply Sugar and Gluten Free and Elana @  Elanas Pantry.  Check them out for amazing GF recipes.

 Don't miss out on Selina's home decor tips and inspirations - Sign up to receive her once a week post :-)

Enter your email address:


Delivered by FeedBurner


Step by Step - How to Apply American Clay

Now this was a fun project!  I'm happy to be able to show all of you a step by step tutorial on how to apply American Clay.  


It wasn't my typical clay wall because one of it's purposes was to be used as a photography backdrop instead of having to put up canvases in this professional photographers family room.  I had to view this project as more of an art piece than "just doing a wall"  Thank goodness I have a fine arts background or I would have been terrified! 


american clay how to apply


Believe it or not the hardest part for me is the "getting ready" part.  Mixing up all the clay (80 lb bag of clay!) and getting all the pigments right with the binder is always time consuming.


Getting the clay ready is a lot like baking :-)  You just dump in some water (generally a gallon is fine to start out) pour in the clay, stir it around (with a power drill and paddle) , sprinkle in the pigment, stir it around and add more water, sprinkle in the binder (up&ez) stir it around and just get it to the consistency of a McDonald's milkshake.  (Just like baking - right?)  You should let the clay sit for at least 30 minutes but it can sit for a few days if you needed it too.


 This project consisted of 3 colors - Bryce Canyon, Palomino Valley, and Acacia.  This was the first time I used American Clay's newer product Enjarre and Up and EZ binder.  Enjarre is their only one coat system and for those on a tighter budget it makes doing clay on the walls a doable option. 


Here are the before shots! 

before picture american clay photographers wall


Get ready to see the transformation from country STENCILS to Tuscan BEAUTY!!!


My advice for any one attempting this at home is to just GO FOR IT.  If you think too much about it you will never start. (Or just hire me and you won't have to worry about a thing!)  I troweled on a rotation of Bryce Canyon and Palomino Valley to give added depth and texture to the wall.


American Clay bryce canyon and palomino valley


I'm sorry, isn't this clay is the most mouth watering, luxurious thing you have ever seen?  Makes me want to eat it! (which by the way you CAN, this stuff is so natural.)

enjaree american clay bryce canyon palomino valley and acacia
Enjarre one coat mixed pigments of Bryce Canyon, Palomino Valley, and Acacia.


After I covered the walls in the 2 darker tones (which was tricky since the clay color wet isn't the clay color dry, so it is kind of like you are painting blind!) I skip troweled on the Acacia color in spontaneous areas.  Once the lighter color dried for a while I used a clean plastic trowel to blend it into the darker colors.


Here is the wall finished with the first coat and still wet.  (Remember the clay always dries a LOT lighter.)


Here are the AFTER shots! It is so textured and rich!  Can you also see this is a powder room, or a wall in your kitchen? Shoot me an email and I'd be happy to do it!


Previously they had to hang canvas as a backdrop on their plain wall.  (isn't it loverly.) (-:

after picture american clay photographers wall.


Time for a fresh new look!


American Clay Deep terra cotta

Another amazing senior picture shot of their daughter. 
Click this link to be directed to their website - they are absolutely amazing!

Thanks for looking!  Contact me for any information regarding the clay or other design questions. 

 Don't miss out on Selina's home decor tips and inspirations - Sign up to receive her once a week post :-)

Enter your email address:


Delivered by FeedBurner


Awesome Thrift Store Finds!

So this last trip was quite a sucess.  This faux plant was lots of fun.  It was very heavy and even though faux plants aren't my favorite you can't beat it when it looks so real (and it can't die)!
 
This fancy old world potted plant  was.......$2.50. 
The candle holder next to it was .50
(I'm probably not going to keep it in that spot but it was fun for the picture.)


Next I picked up this reallynice red flower print.  Nice heavy construction and it happend to go with the apple plate and holder that is in my laundry room!

Red Flower Picture: $3.00
Plate with Holder $1.25
(I did spray paint the holder, it was originally shiny gold!)


This last "score" was a cute fruit bowl or decorative bowl.  I could see those brown twine balls thrown in their too.  This piece still had it's 15.00 price tag on the bottom.  I was thinking I could even put in coffee and muffins and package it as a gift for a teacher.  As you will see for the price I got it for I couldn't even buy a simple brown basket from a regular store.

Ready for the big reveal! (I just really get excited, sorry!)  Price tag: $1.00


Thanks for looking in!

Fix it up Friday - end table

I need to begin by telling you all that I will never again buy a piece of furniture that requires me to use a saw to fix it up.

I am horrible with a saw.  I suppose if I had bought a $200.00 electric saw instead of my $2.00 garage sale saw I might change my mind.  What would be the point though of spending $10.00 on an end table and have to spend $200 on the saw to fix it up?  Back to my dilemma of only having a $2.00 garage sale saw to work with.  No more woodworking for me.  I'll stick to spray paint! 

Can you see the potential?  I love natural wood but I know some other furniture painter people would look at this and envision it covered in cream paint with an antique glaze to highlight the paneling!  Maybe when I get over my natural wood phase I'll do that with this piece.  Here's the kicker though, someone took off the top of this piece (could this be why I got it for 10 bucks!)  It was raw and ugly, very rough with nail holes and everything.  So now what should I do with the top? 

I thought about tiling it but that would cost a lot and as we know I don't even own a good saw let alone a tile cutter! I thought about doing a hammered metal but reminded myself that I have never welded in my life.  OK back to reality........how about doing it in American Clay!  YES, that is what I will do BUT I will need to put an edge on the top because American Clay will not stand up to people or things running into the corners.  It would just chip off.

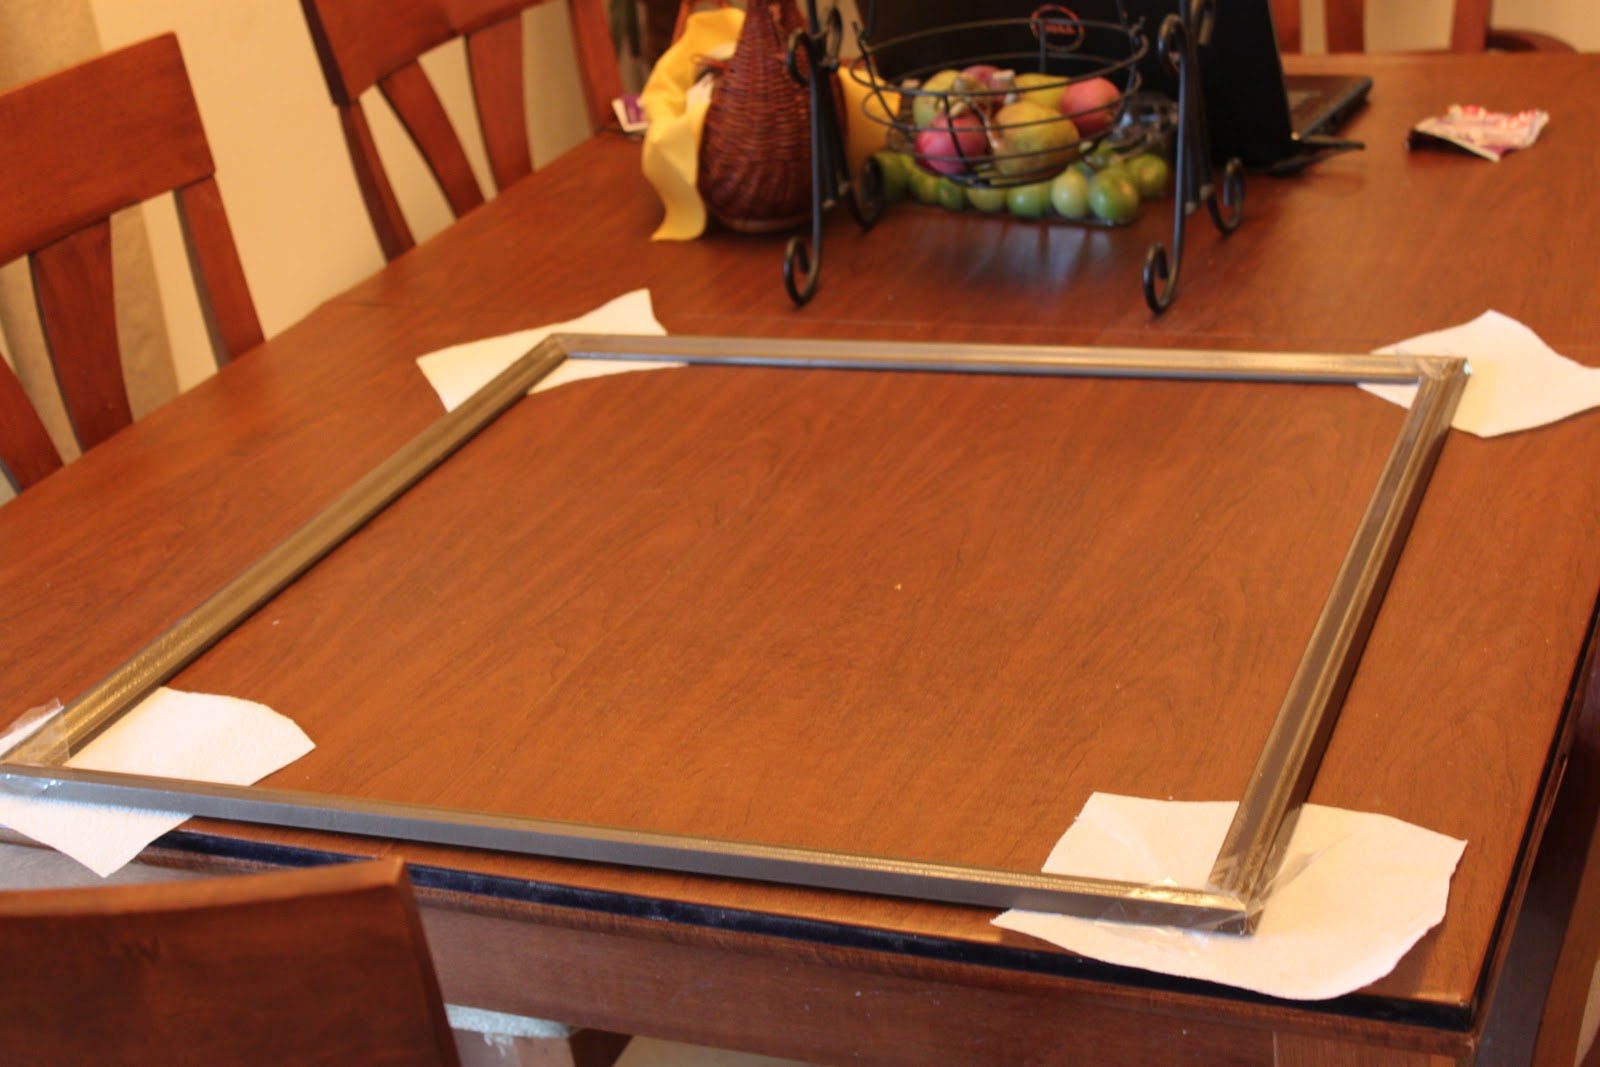
I went to Home Depot and picked up some plastic edge molding (4.50 a piece x 2) and spray painted it blackish brown (I alternated the oil rubbed bronze with aged copper, that was after trying out the hammered brown that I didn't like)   Each of those paints were 8.00 a piece - ya, adds up! 

Next I attempted to use my cheap mitre saw to cut the edges.  It was a disaster.  I am a guesser and I do not like measuring, so the result was 4 pieces of 1.) maybe the right size lengths and 2.) edges that were hacked through with a 2.00 tool.  I also realized that to to the cuts right I would need to not just cut the wood at an angle - the actual CUT would need to be angled and my fancy garage sale saw didn't do that!  I hate woodworking!  But I am good at positive thinking so I still thought my table had a chance.  I put the edges together and used wood glue (on my plastic) to hold the edges together.  Well, I sadly realized you can't use wood glue on plastic.  After waiting forever for it to dry (it was hard, I don't have a lot of patience) I picked it up and it fell apart.  OK, what about super glue? That holds everything - right?  Well that along with tape did do the trick.

 (I did make a trip out to the home store to get some glue that will work with everything for the future)
OK so now I have edges that do NOT match up (lots of gaping space) so I need a wood filler to patch in the areas.  This putty was fairly cheap (2.50) at the store and my thought was I could use it for fixing my other projects.

Everything seemed to be working out.  I filled in all the cracks with the putty and re-spray painted it a warmer color and used the correct glue (picture above) to attach the edge on the top.  I did the very professional thing and applied weight to hold it in place.  Doesn't that look professional? (-:
Now for the part I know I can handle.  (So far this project has been way out of my league).  I taped off the edge and troweled on some leftover clay (phew, something was free!) and when it was dry I applied 2 coats of penetrating sealer to the top. 


There you have it!   It cost me about $40 extra to fix it up.  So total for the table was 50.00.  I'm not too happy about that.  I liked the $10.00 it cost in the beginning.  Oh well.  I do like the end result and it's fun to have something to post, the MANY trials and all! 
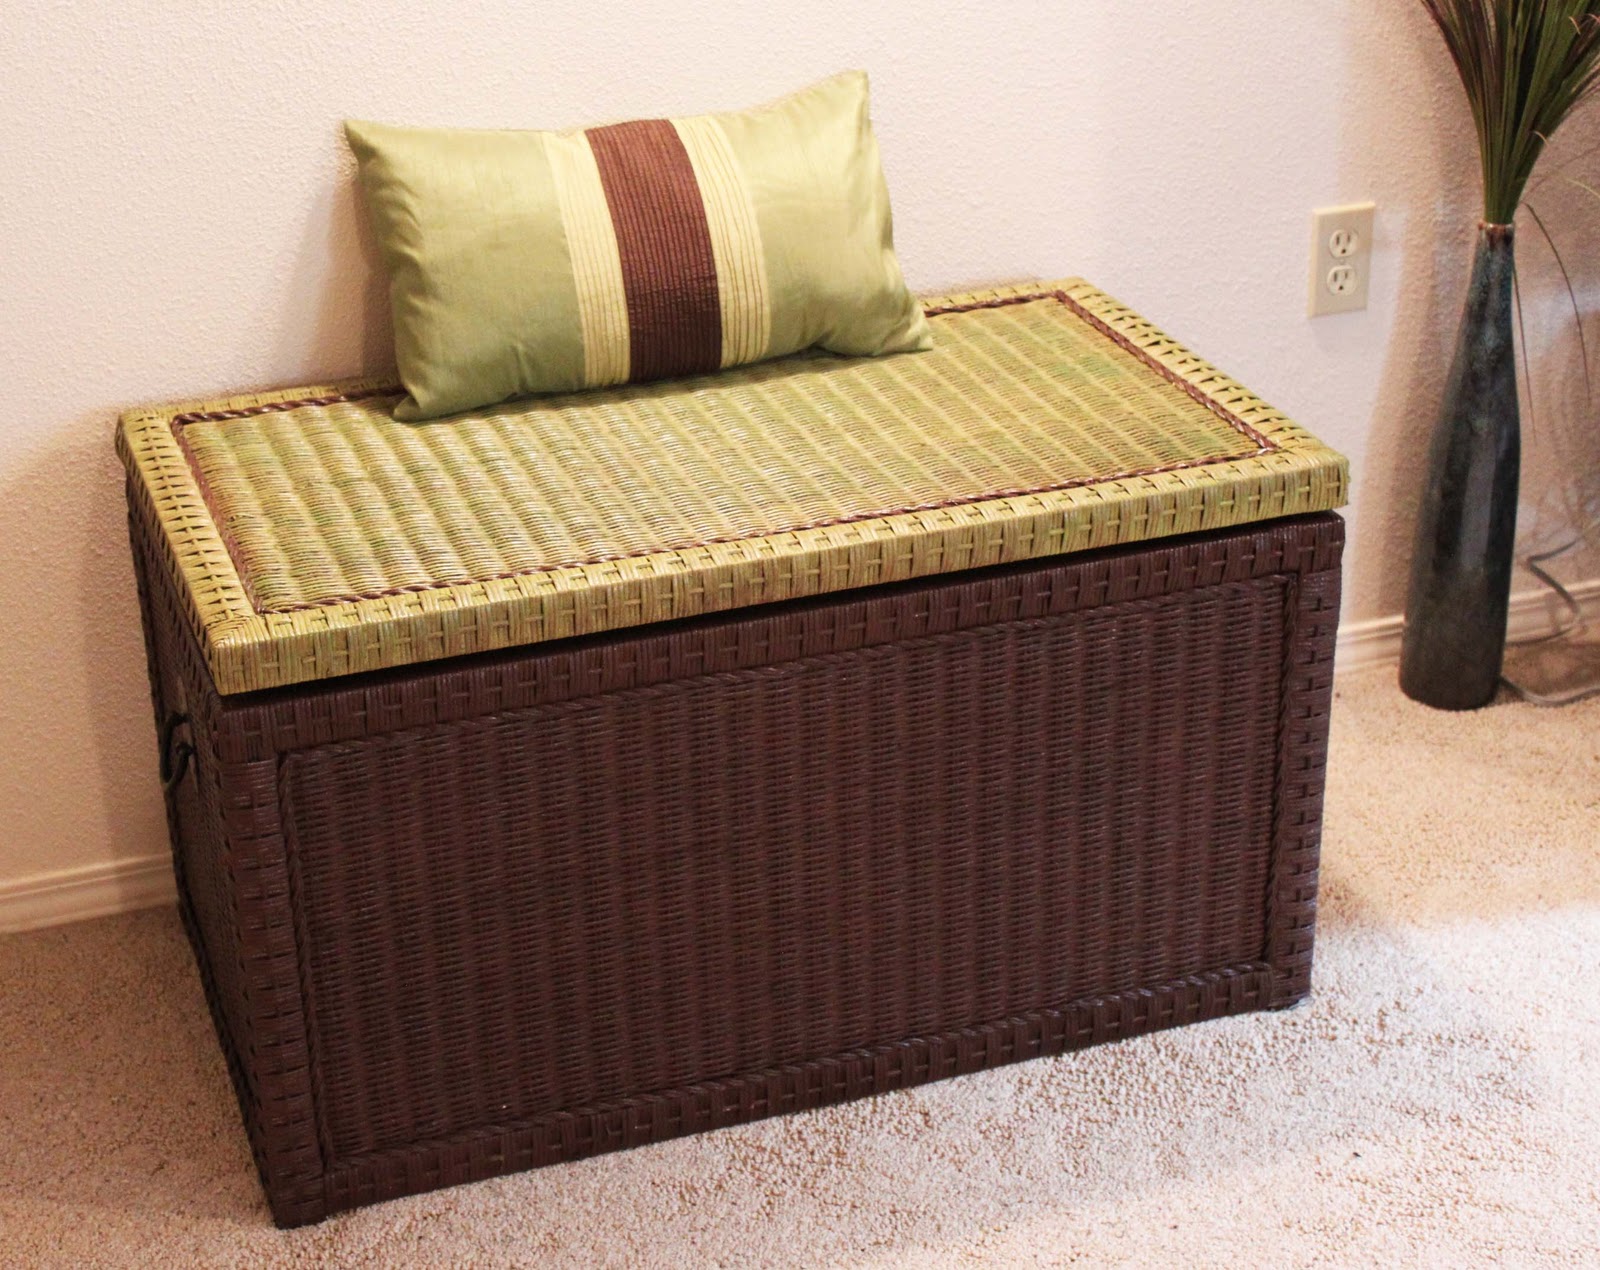

Look at the LOVELY lamp! (see post below for that score). Fits right in.  I had the shade stored in my garage.

That is our dog Duke.  He is very proper.....crosses his legs every time he sits down, plus aren't all good decor pictures shown with a cool looking dog?  So now he is giving back to me a little for all the years I have cleaned up his poop and fed him.....still not sure if having him as a cool prop is worth it though??
Related Posts Plugin for WordPress, Blogger...